Scenario:
Learn how to perform Bank Reconciliation in Cloud Accounting System with ease.
Solution
Bank Reconciliation or the process to reconcile Cash/Bank Balance with the actual Bank Statement can be performed in the system to help the business see if there’s any accounting adjustment required, and maintain the accuracy of the company's Cash/Bank Accounts in the General Ledger.
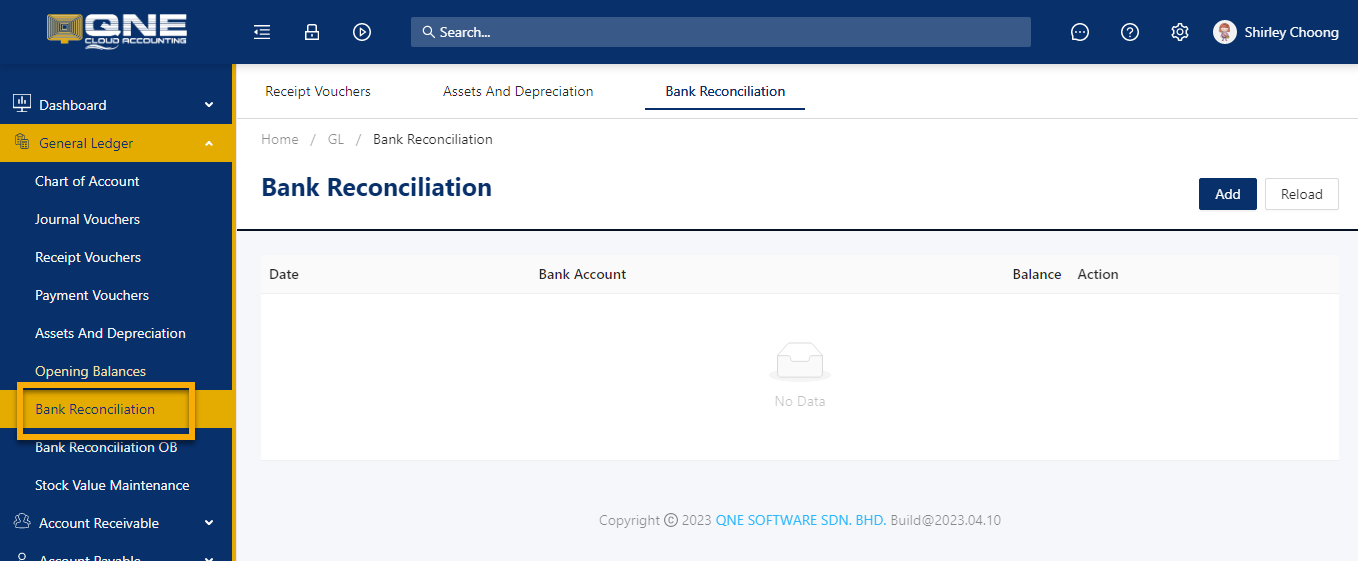
To do in the system, go to Navigation Pane > General Ledger > Bank Reconciliation.

From the List View, click ‘Add’ button to create new record.

Bank Reconciliation form will open.
Choose the corresponding Bank Account to reconcile. Statement Date is automatically set to current date, modify if necessary and then input the Statement Balance as of your Statement Date. Next, click ‘Inquiry’. Balances
Compare the transactions shown in the company records to those listed on your reference bank statement.

The uncredited funds are all transactions that have a positive balance to your balance statement such as collections using Journal Entries, Receipts, Debit Notes, and Cash Sales, etc.
Whereas, the unpresented funds are those with negative balance in the balance statement such as payables using Journal Entries, Pay bills or Payment Vouchers, Credit Notes, Cash Purchases, etc.
Start matching each bank transactions against the transactions entered in the system. Tick ‘Cleared’ for every matched item. The date when it has been cleared from the bank should be taken into consideration, which needs to be defined it in the Cleared Date Column.

To easily search for the exact transaction to reconcile, you may filter the displayed transactions either using this Display Options Toggle:

Or to show transactions for a specific date range through the Date From/To Filters:

You may also click the Show Filters Icon to display the Search Bar where you can input keywords relating to your bank statement transaction and can look up from any of the Columns displayed.

For every cleared transaction, you'll be able to see the changes over the Account Balance Difference, Uncredited Funds, and Unpresented Funds.

Once done, click SAVE or any from the saving options available.

Was this article helpful?
That’s Great!
Thank you for your feedback
Sorry! We couldn't be helpful
Thank you for your feedback
Feedback sent
We appreciate your effort and will try to fix the article